A LITTLE INSPIRATION FOR EVERY MEAL Have a recipe? Share it →
Home / Lunch
THE RECIPE COLLECTION · Lunch

Salmon Salad in a Sandwich

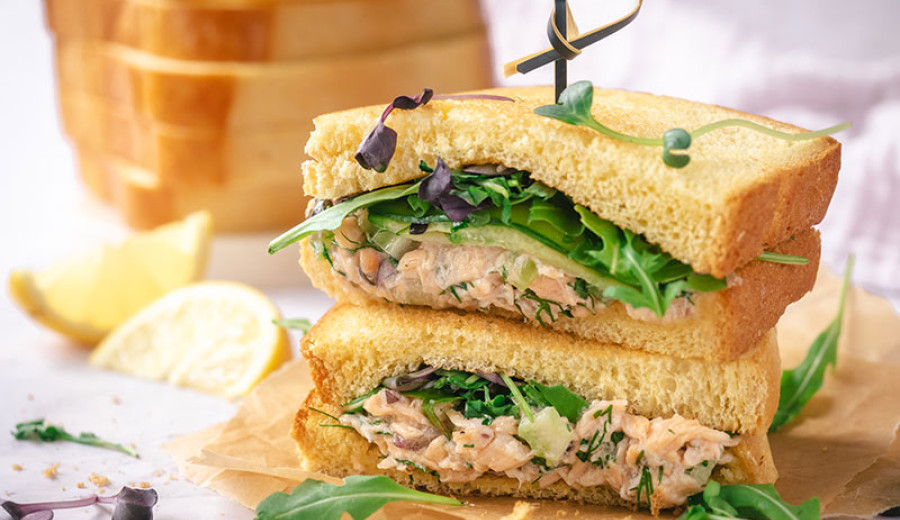
This refreshing salmon salad is perfect for a quick and satisfying meal. Packed with fresh ingredients and creamy dressing, it makes a delicious filling that’s easy to whip up for lunch or a light dinner.

Start cooking ↓
TIME25 min
SERVINGS4
RATINGNew
Salmon Salad in a Sandwich
01 / WHAT YOU NEED

Ingredients

02 / HOW TO MAKE IT

Let's cook.

You Might Like
Biryani with a Chinese twist
01

Step 1

In a medium bowl, mix together the salmon, Greek yogurt, celery, mustard, lemon juice, garlic powder, salt, pepper, and paprika until everything is well combined. Heat up your grill to medium and give the grates a light coating of oil to prevent sticking. Place one onion half on the grill and cook it for about 5 to 7 minutes on each side, until it’s tender and starting to caramelize. Once it’s cool enough to handle, slice the onion thinly. To assemble, spread the salmon mixture over your bread slices, then layer on the grilled onions, some avocado slices, and a handful of baby spinach. Enjoy!

03 / EXTRA DETAILS

Good to know.

Cook's tip

- Use fresh or canned salmon for convenience and flavor.
- Add a squeeze of lemon juice to brighten the taste.
- Toast the bread slightly to add a nice crunch and prevent sogginess.

Why you’ll love it

This dish combines the rich, buttery flavor of salmon with fresh, crunchy vegetables. It’s light yet satisfying, perfect for a quick lunch or a healthy dinner. The mix of textures and tastes keeps every bite interesting and enjoyable.

Serving ideas

Serve with a side of mixed greens or a light soup for a balanced meal. This sandwich also pairs well with pickles or a crisp coleslaw to add extra zest. For a refreshing drink, try iced tea or sparkling water with a hint of citrus.

Storage & leftovers

Keep any leftover filling in an airtight container in the refrigerator for up to two days. Avoid making the sandwich too far in advance to prevent the bread from becoming soggy. If needed, store the bread and filling separately and assemble just before eating.

KEEP EXPLORING

More to make.